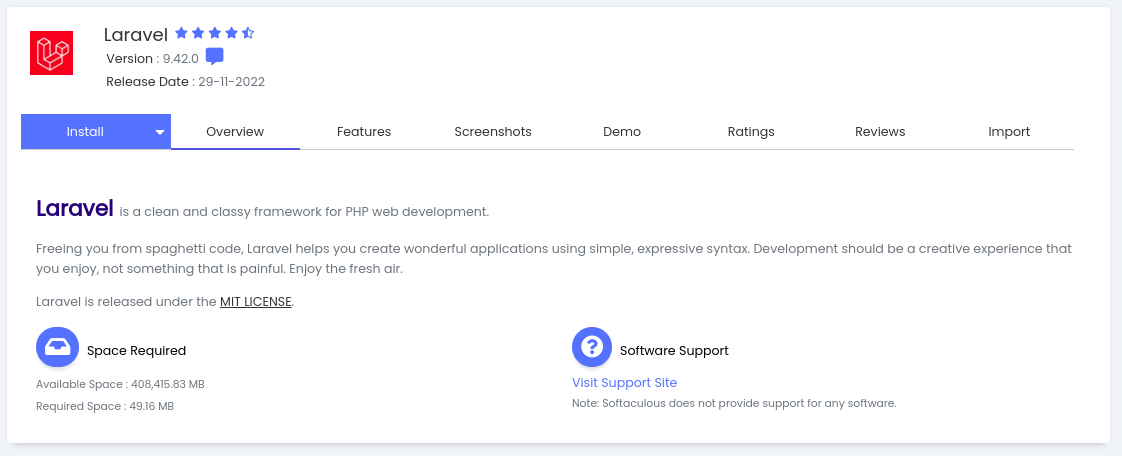
PHP Laravel is a powerful PHP framework that simplifies web development and boasts some of the biggest names in tech. Now, you just need to get it up and running on your server. CPanel, a popular web hosting control panel, offers a handy tool called Softaculous app installer that makes installing Laravel easy. This guide will walk you through the process, step-by-step, and have you coding your next masterpiece in no time.
1. Accessing cPanel
Login to your cPanel account. This is typically done by visiting “yourdomain.com/cpanel” and entering your credentials.
2. Locating Softaculous
Once logged in, scroll down to the Software section, and find the Softaculous Apps Installer.
3. Finding Laravel
Click on the Softaculous icon, and you’ll be redirected to the Softaculous dashboard. On the left sidebar, locate the “Frameworks” category, and click on “Laravel.”
4. Initiating the Installation
Now, click on the “Install Now” button to start the Laravel installation process.
5. Configuring Laravel Installation:
- Choose Protocol: Select the appropriate protocol (usually, it’s “https://“).
- Choose Domain: Pick the domain where you want to install Laravel.
- In Directory: Leave this blank if you want to install Laravel in the root directory and install
6. Admin Credentials:
- Site Settings: Enter your site name and description.
- Admin Account: Set up your admin username, password, and email.
7. Advanced Options:
You can skip this section for a basic installation. However, you may want to configure options like database name, table prefix, and backup settings based on your preferences.
8. Installing Laravel:
Review your settings, and when you’re ready, click the “Install” button. Softaculous will take care of the rest, and you’ll see a progress bar indicating the installation status.
9. Completion and Access:
Once the installation is complete, you’ll see a success message. Access your Laravel application by navigating to your domain in a web browser.
Congratulations! Laravel is Ready to Roll!
You’ll see a success message with links to access your Laravel application and its admin panel. That’s it! You’ve just installed Laravel with Softaculous like a pro.
Time to Code!
Now, the fun begins! Head over to the admin panel and unleash your creativity. Build stunning websites, develop powerful web applications, and experience the joy of Laravel’s elegant syntax and robust features.
Bonus Tip
If you encounter this error “The following errors were found : Required PHP version greater than or equal to 8.1.0 AND found version is : 7.4.33 Do you wish to enable PHP 8.1.21 ? (Might cause issues with your existing installations).” Follow this Knowledgebase on “How to Set the PHP Version per Domain in cPanel” to upgrade your php verision to PHP v8 or later
Conclusion
Installing Laravel with Softaculous on CPanel is a quick and easy way to get started with your web development journey. This guide has demystified the process and hopefully set you on the path to building amazing applications. So, fire up your browser, embrace the power of Laravel, and code your way to success!
If you encounter any issues or have further questions, feel free to reach out to IsabiWP Cloud Nigeria’s support team. Happy coding!

Leave a Reply